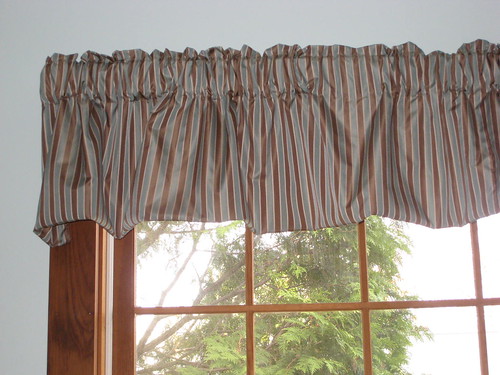
Since my husband and I bought our old farmhouse from the 1860's 6 years ago, we have slowly been painting and re-carpeting a couple rooms a year. The last two rooms to get a face lift were the dining room and the kitchen. We chose Valley Mist by Behr found at the Home Depot for the color. I must have brought home 200 paint colors to match the color to the curtains in the dining room, and the curtains were bought to match the fabric on the dining room chairs. Then we wanted to paint the kitchen a shade of green. We decided to paint the kitchen and dining room the same color. When my husband finished painting the walls in the kitchen, I looked up at the valances and thought, "These have got to go!" So, I took a paint sample to the fabric stores in search of home decor fabric to match the walls.
I am very glad that I know how to sew. We looked into getting custom curtains for the library/den in our house when we redid that room. For 5 windows, the estimate was something like $2,800!! And that did not include the drapery hardware. The sales lady told us that we really had to look at curtains like another piece of furniture. I went to Bed Bath and Beyond and bought curtains and rods that look just lovely for under $200.
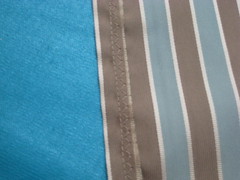
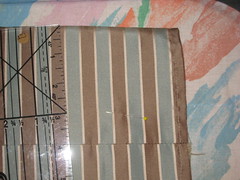
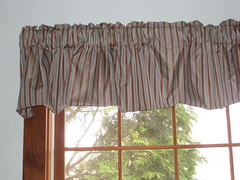
Now I needed a pattern. I looked in a book about curtains that I had bought several years ago. Nothing jumped out at me. Then, I looked online. I found a nice tutorial, but not really what I wanted. So, I used the old valances for my pattern - which is actually a very simple pattern for a valance. I took pictures as I sewed so that I can write my own tutorial later on. If you can sew a straight line, then you too could make these valences.
I really like the brown with the green-blue striped fabric, because it helps accent the wooden windows. Click
Here to see my tutorial on how to make these yourself!

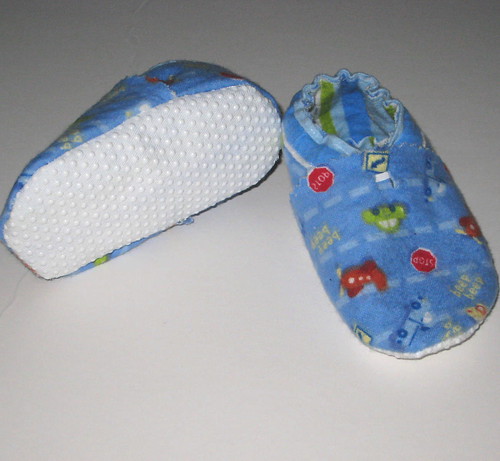
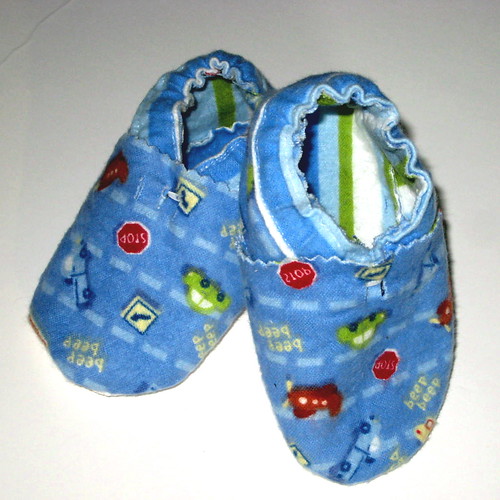 So my little guy's feet are getting bigger and he is now cruising all over the place. It is time for some new shoes. Usually I have just bought him Robeez in the past. This fall we bought him so soft soled sneakers at Stride Rite. Instead of buying more Robeez, I decided to buy some leather at a local fabric shop and make him some leather shoes myself. Since leather is a bit more expensive than cotton, I decided to make him a pair of flannel slippers first. He loves cars and trucks, so I thought that he would enjoy this fabric. The shoes are lined with striped flannel fabric that I had leftover from a quilt I just finished for one of my nephews. I fused all fabric to the liner and then sewed them together. I used no-slip fabric, like the kind on the bottom of sleepers, for the tread. I found this at JoAnn Fabrics. You have to ask for it at the cutting table. I think that they turned out cute for my first attempt at making shoes. They fit him perfectly. I think that I will add 1/4 inch to the design for the leather shoes so that there is a little room to grow. I hope to make the leather shoes soon - I found some very cute leather fabrics!