Materials
You will need:
*Sharp pair of fabric scissors
*2 pieces of fleece 18"x18"
*Pins
*2 pieces of muslin(or any cotton fabric) 13"x13"
*Stuffing (Polyfill fiber or Scrap Batting)
*Thread
Making the Pillow (or just buy a 12"x12" pillow form at the store)
1) Cut the fabric 13"x13" and pin together.
2) Starting about 3 inches from a corner, start sewing all the way around the fabric square. Stop when you are about 5 inches from where you began. Turn the pillow right inside out.
 3) Stuff your pillow to desired plumpness.
4) Turn under the raw edge, pin and top-stitch to complete.
Making the Pillow Case
1) Cut the fleece to the dimensions given above.
2) Place the fleece wrong sides together and pin.
3) Cut a 3-inch square out of each corner.

4) Then, through both layers, cut 1 "x3" fringe, to tie, all the way around the pillow.
5) Tie front to back for each tie, leaving some open on the last side. Once you have made the pillow, insert the pillow in the case and close the last few ties. You are done!
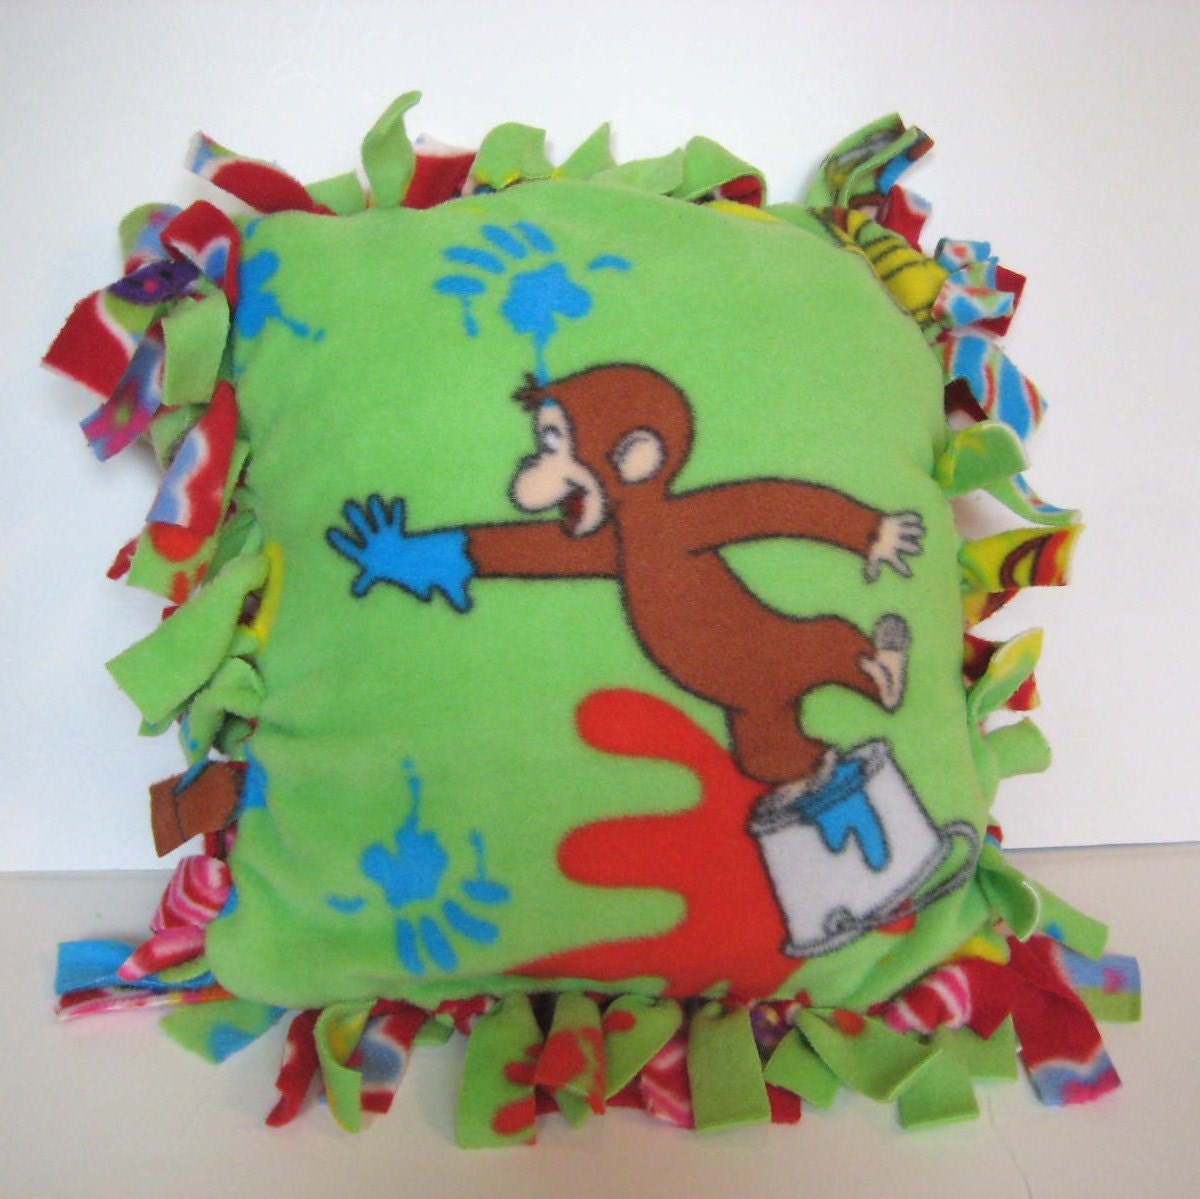
The Curious George Pillow above is available to purchase in my Etsy Shop.


6 comments:
Cute pillow, love Curious George! My son was the Man In The Yellow hat from Curious George two Halloweens ago. I have pictures on my blog of it.
Cute pillow! Are you selling kits, or finished pillows?
Right now I am selling Finished Pillows. Do you think that I should sell kits as well?
What a great idea, Amy...love it!!
I adore those fabrics.. makes me want to get snuggly and comfy in my bed with that pillow under my cheek :)
I am having a giveaway on my blog if you would like to join. I am looking for business tips useful for me and as a bonus useful for everyone else reading too.. I have had some cool ones! would love to see you there, x clio
So cute!! I think I'll make one of these with Gracie for a winter project. She loves pillows, and will have so much fun helping me make one just for her! Great tutorial, Amy!
Post a Comment